One of the accessories I ordered first were mud flaps. I live on a gravel road, which is 0.5 miles long. Plus, being out in the country, there are plenty of things on the main asphalt roads that get thrown up. A little protection is important.
Of all the accessory videos I watched, many of which I think were promos for people to get free products, the one thing to get that made the most sense was the mud flaps. I ordered these and put them on fairly quickly after getting the car.
I ordered these: BASENOR Tesla Model 3 Mud Flaps Splash Guards
Tools and Prep
I rinsed off the car one night, but my wife drove it the next day, so it was already dusty again. I didn’t bother cleaning it again, but went outside with a cup of coffee and a few tools:
- Flathead screwdriver
- 10mm rachet and socket
- body tool for prying
- mud flaps
- stool (I’m old)
- readers, 2.0 strength (again, I’m old)
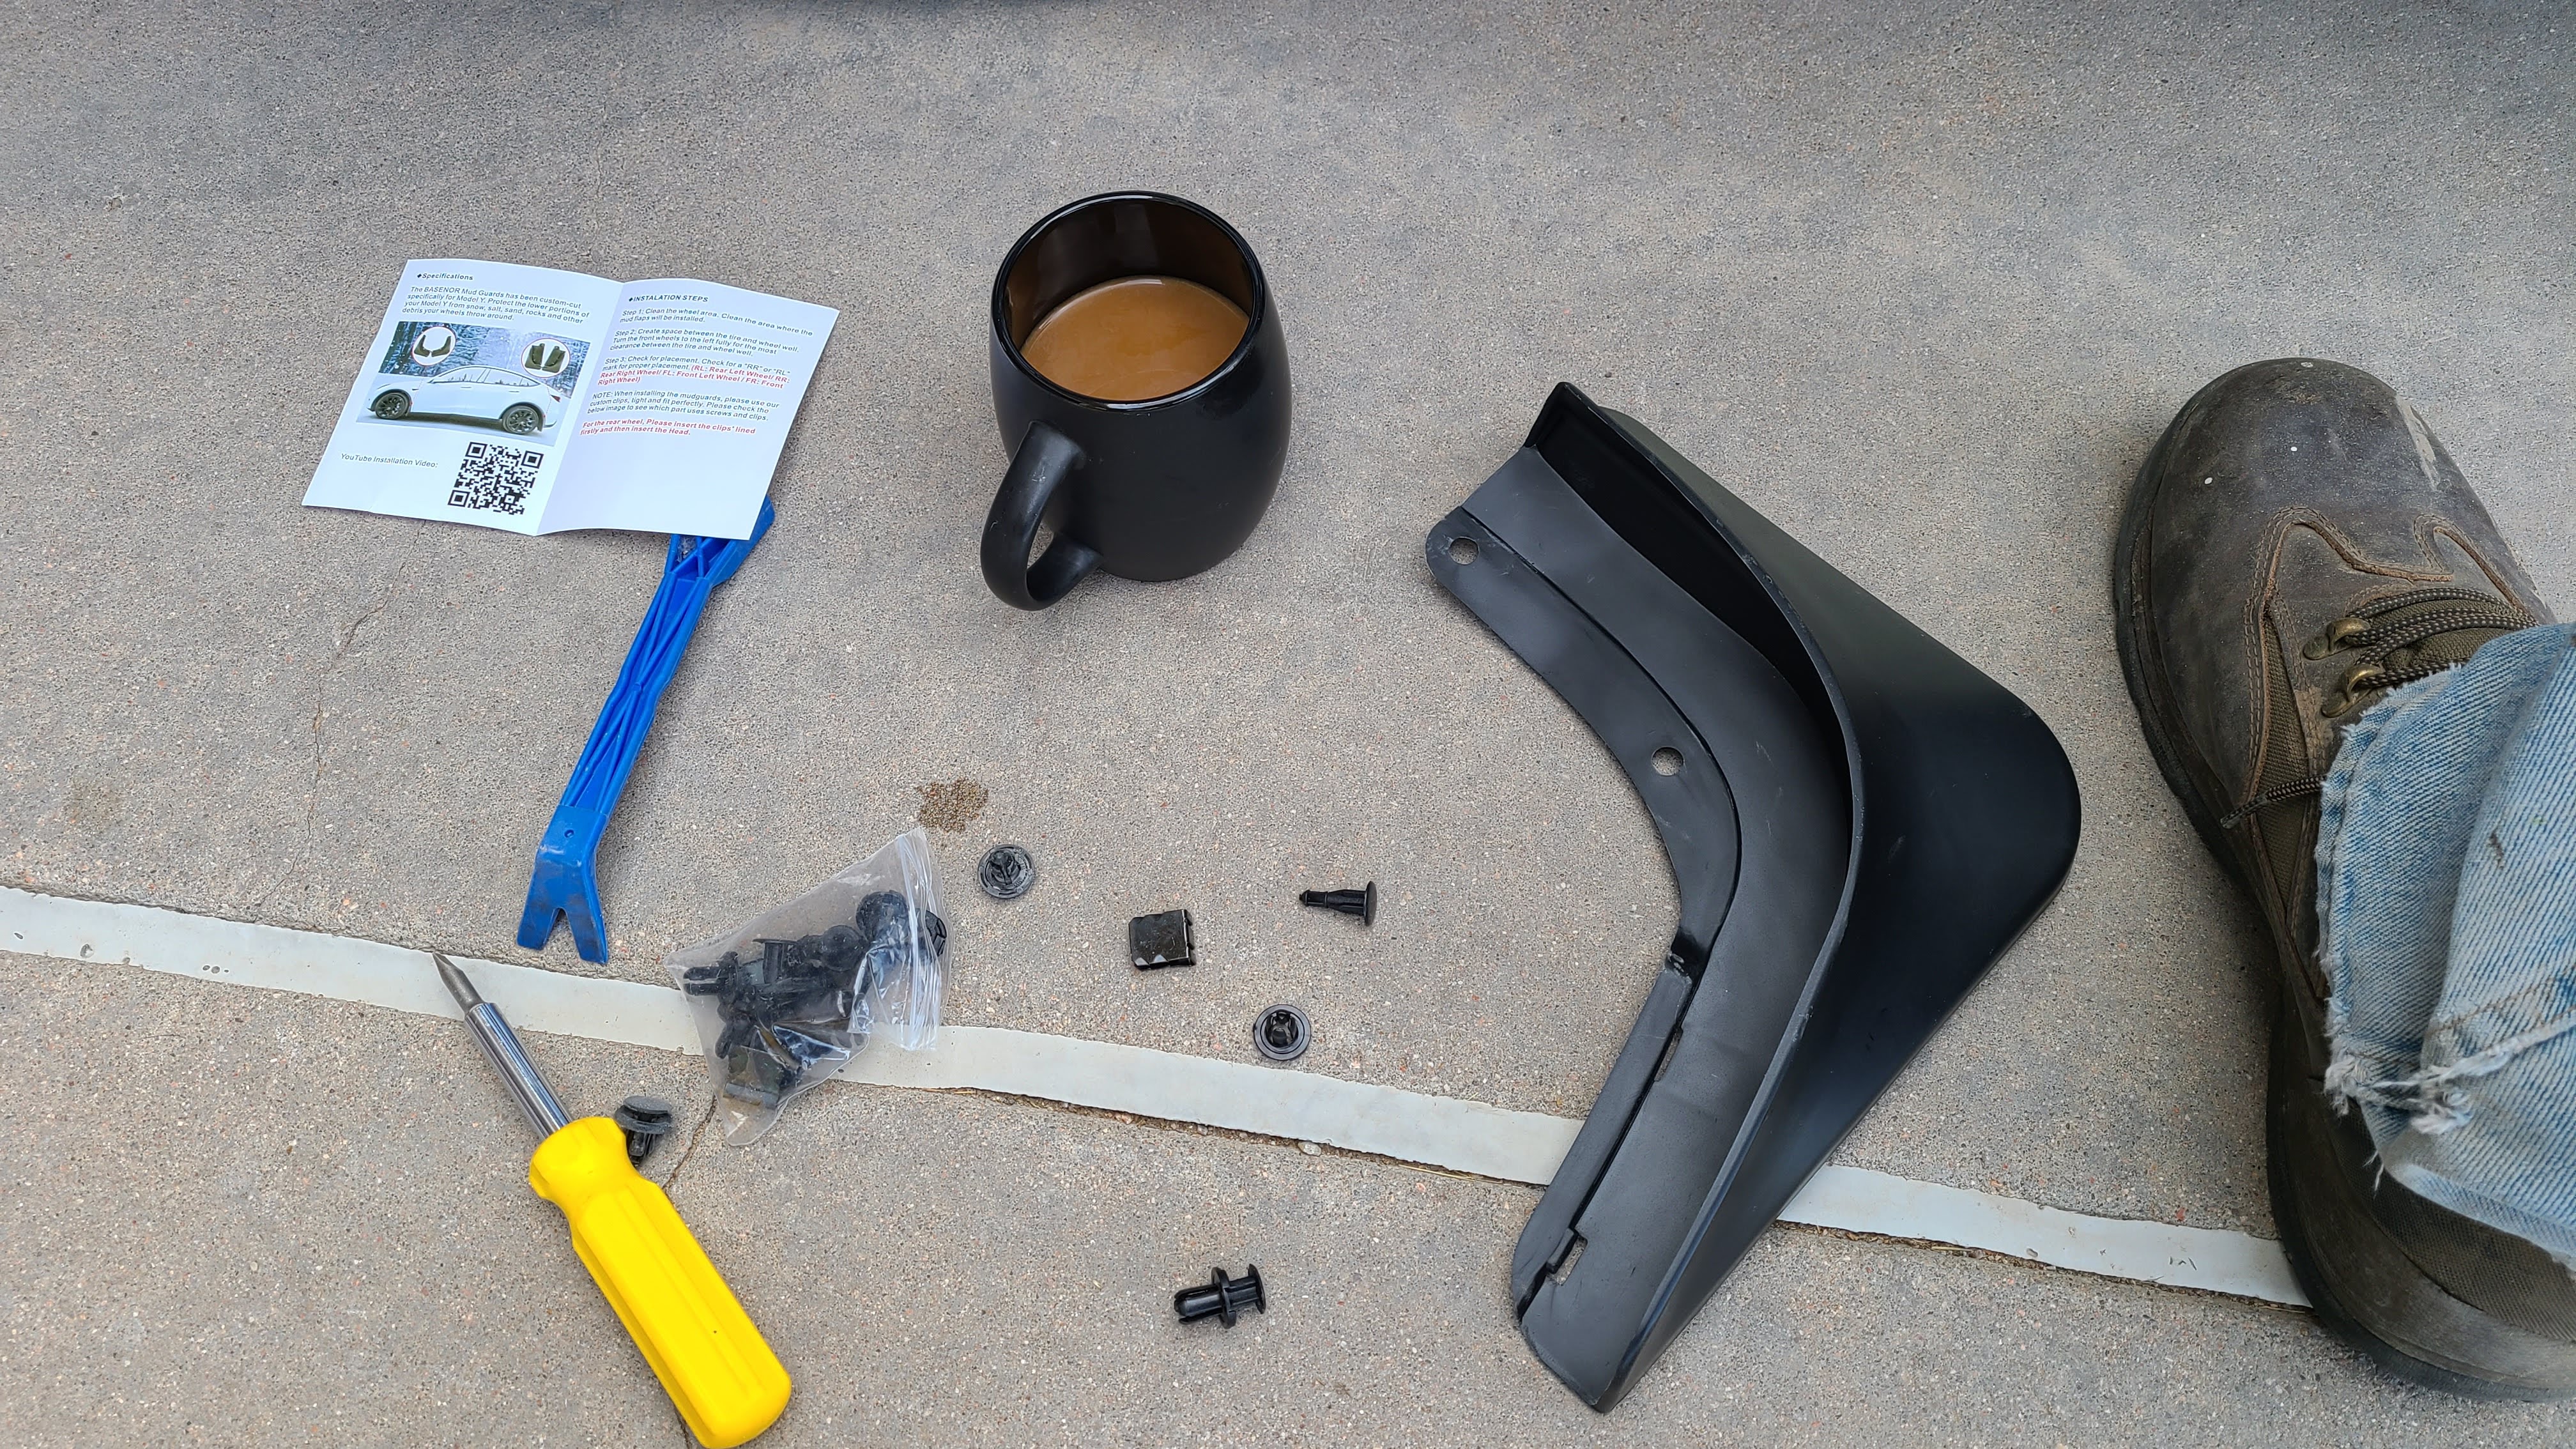
I first read the instructions, which were basic. They weren’t completely clear, but there were diagrams and this is fairly simple. There were a few things I’d point out.
First, count your parts. There are 4 clips for the flaps, which means 1 for each one. However, when you look at the mud flaps there are two spaces where a clip might go. Make sure you only put one on each flap.
Second, be careful and pull/push straight. I broke one of the fasteners, but fortunately, there are spares. At least, I had some.
To start, place the mud flaps next to each wheel well. Each one is marked RF, LF, RR, LR, so look at them. The smaller ones go in front, bigger in back.
Next, use your screwdriver to open the two lower fasteners. You basically pry out the middle of each one (look for the indent) and the pop it out. You can throw these away, as they are fairly generic parts. The mud flaps come with their own fasteners.

For the front, put the flaps there and add two of the new fasteners in the holes. I’d recommend you get each one situated with the middle part of a fastener. Once both are in, then you can push in the middle sections. I used the handle of the screwdriver to apply pressure, but push straight to get these in or they can break.
Once both sides are in, there are two openings up the side of the mud flap. The lower one is where the U-clip goes in. Make sure it grabs both the mud flap and the trim rim that goes around the wheel well.
For the rear, there is also a 10mm bolt to loosen below. Pull out the same two fasteners and then align the mud flap. You’ll see the bolt below. One of mine came right out. The other didn’t, just spinning loose. For the one that didn’t come out, I ignored it and let the mud flap hang over. About a week in and it hasn’t been an issue.
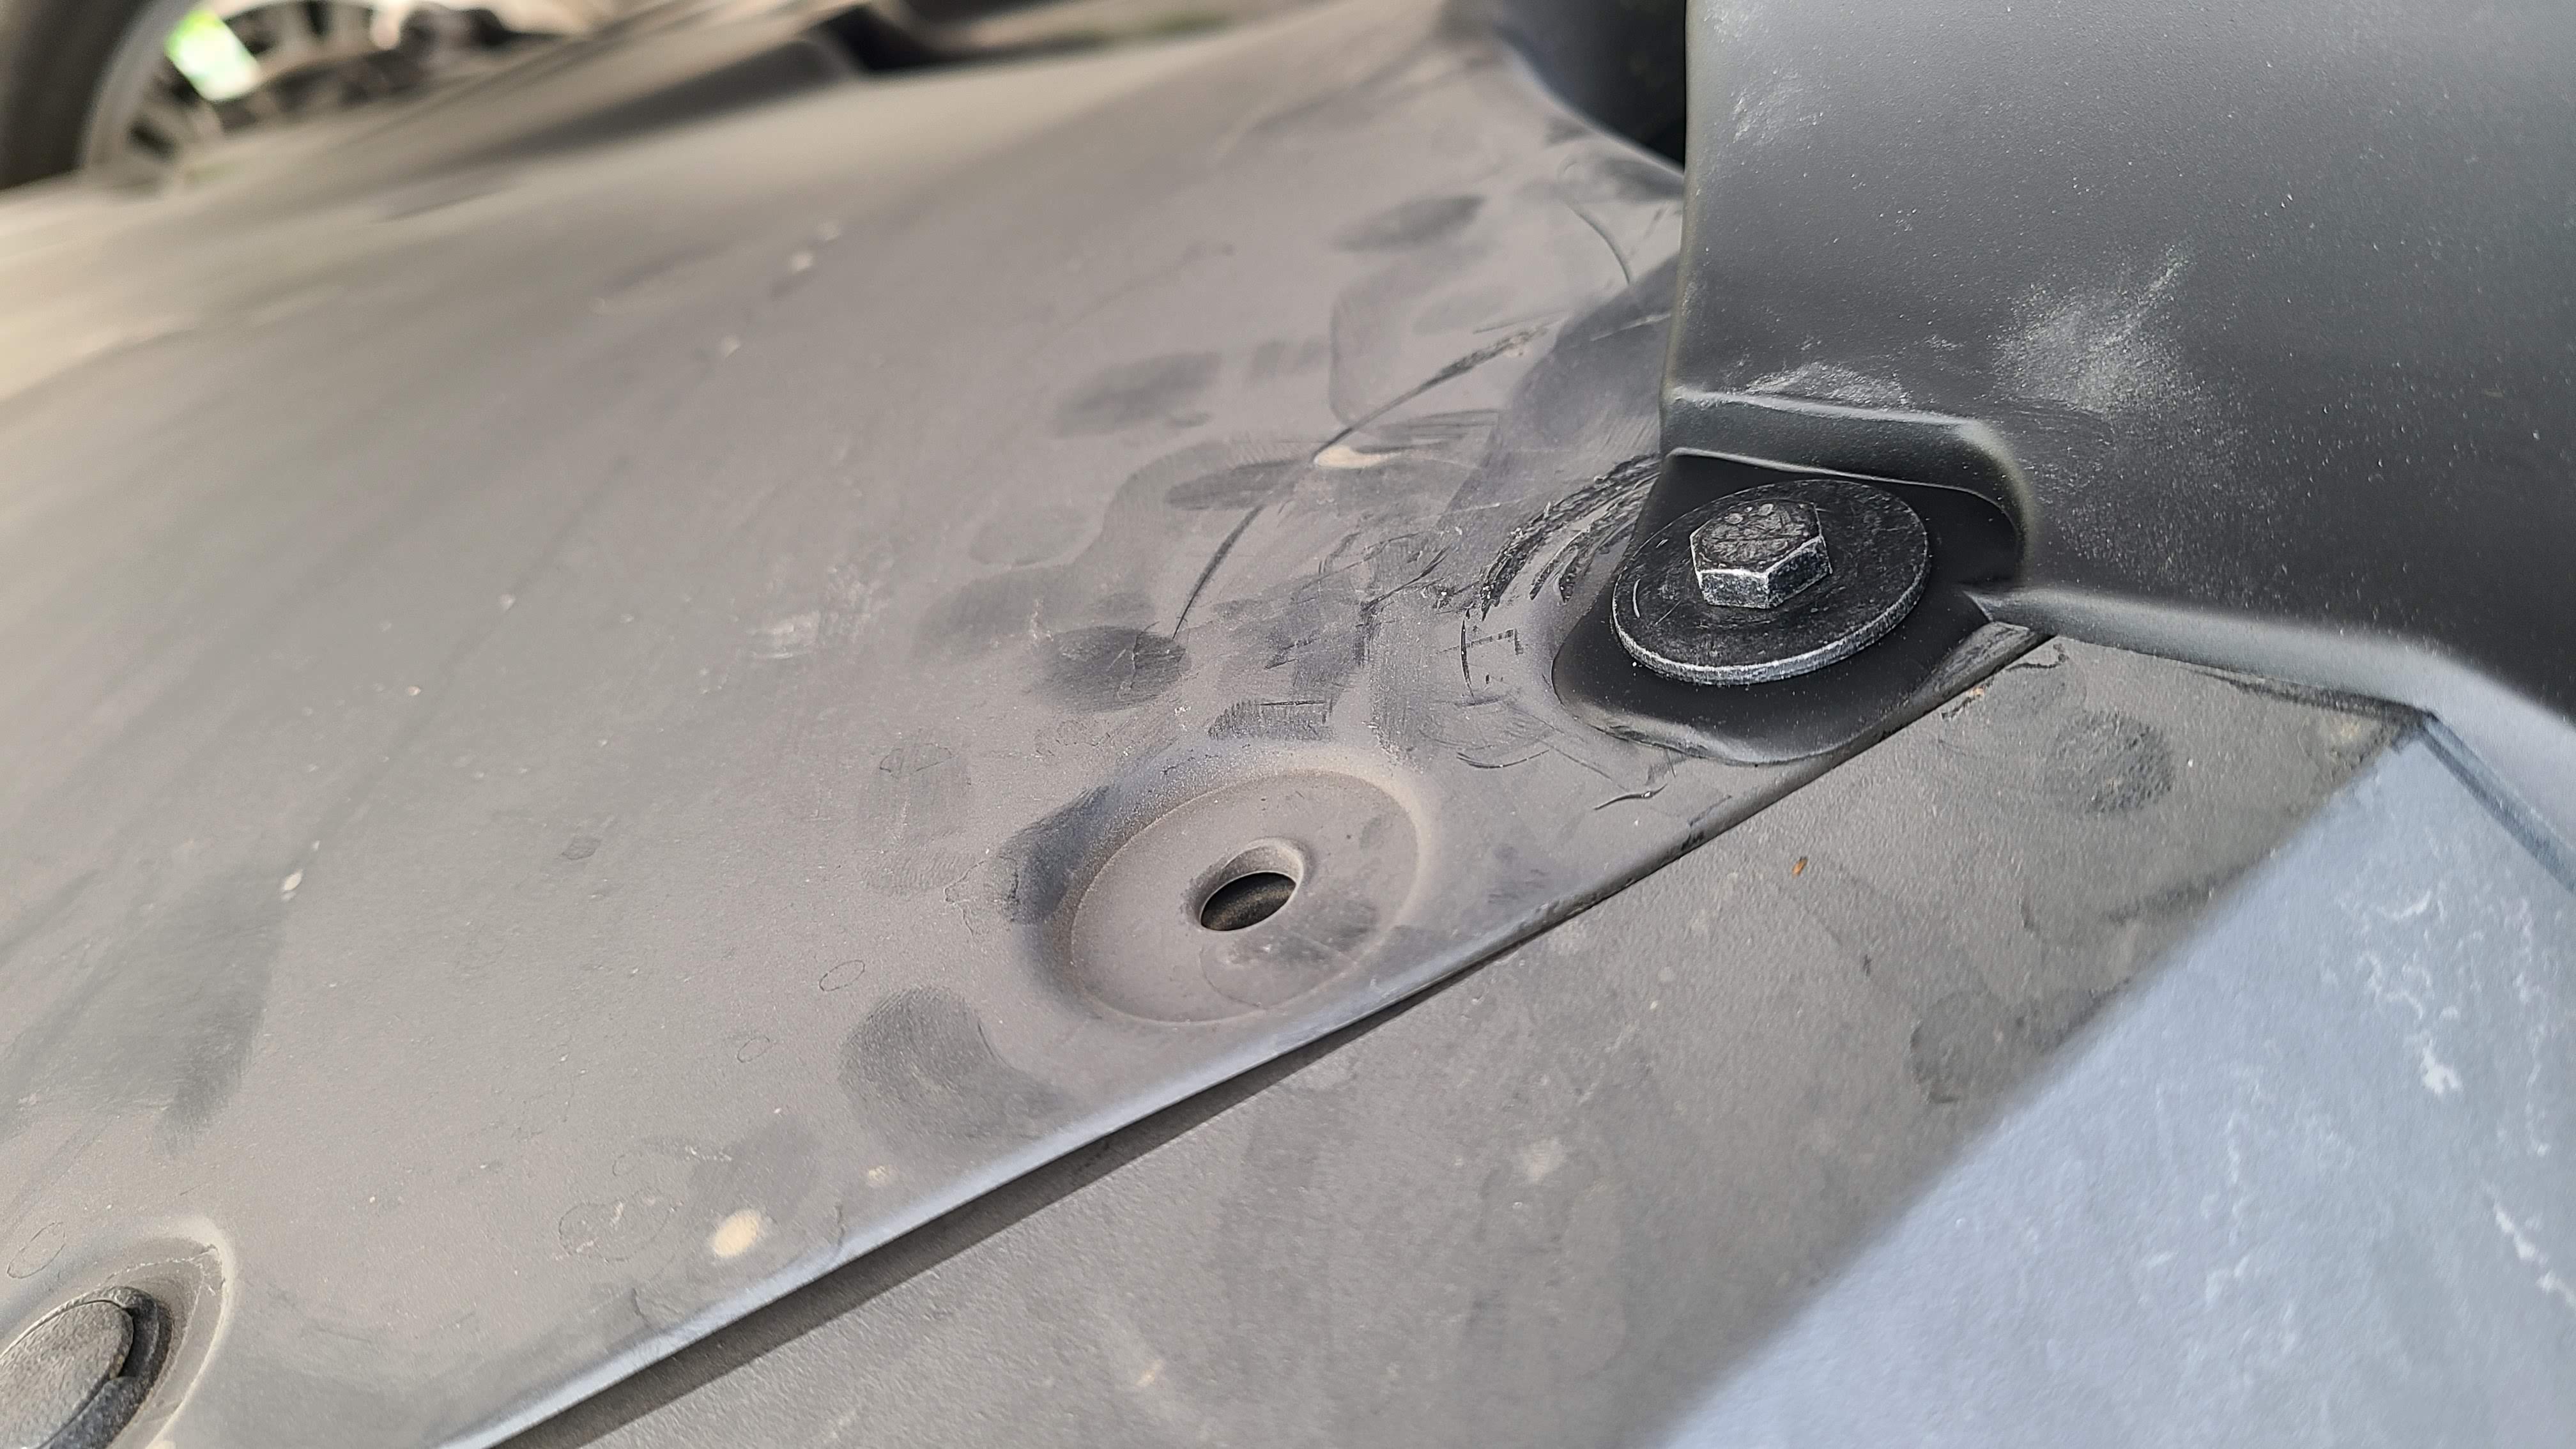
After getting the fasteners and clip in, reinstall the bolt.
That’s about it. These then just help prevent your wheels from throwing mud of rocks up on the body and scratching it. So far, they seem to work well.

There is a video of this post that shows some of the install.