Cutting boards are fairly simple projects, and they can be fun. I’ve done a few, and I’ve made notes here of a few that I’ve built.
Woodcraft Supplies Board
I wanted to tackle a board with a little free time, and since I wandered into Woodcraft one day, I decided to get some supplies from them and see how it went.
I didn’t buy a kit, but I did get a few pieces of raw wood. I snagged a couple walnut pieces and then some padauk and purpleheart from their cutting board supplies.
I ended up milling the the walnut into thick pieces, added a few maple ones I had, and then got small pieces of the more expensive woods ready.
Once I’d cut them, I realized that with the limited supplies, I had to make a thin, cheese-type cutting board. That’s fine. I ended up laying them out on the clamps first.
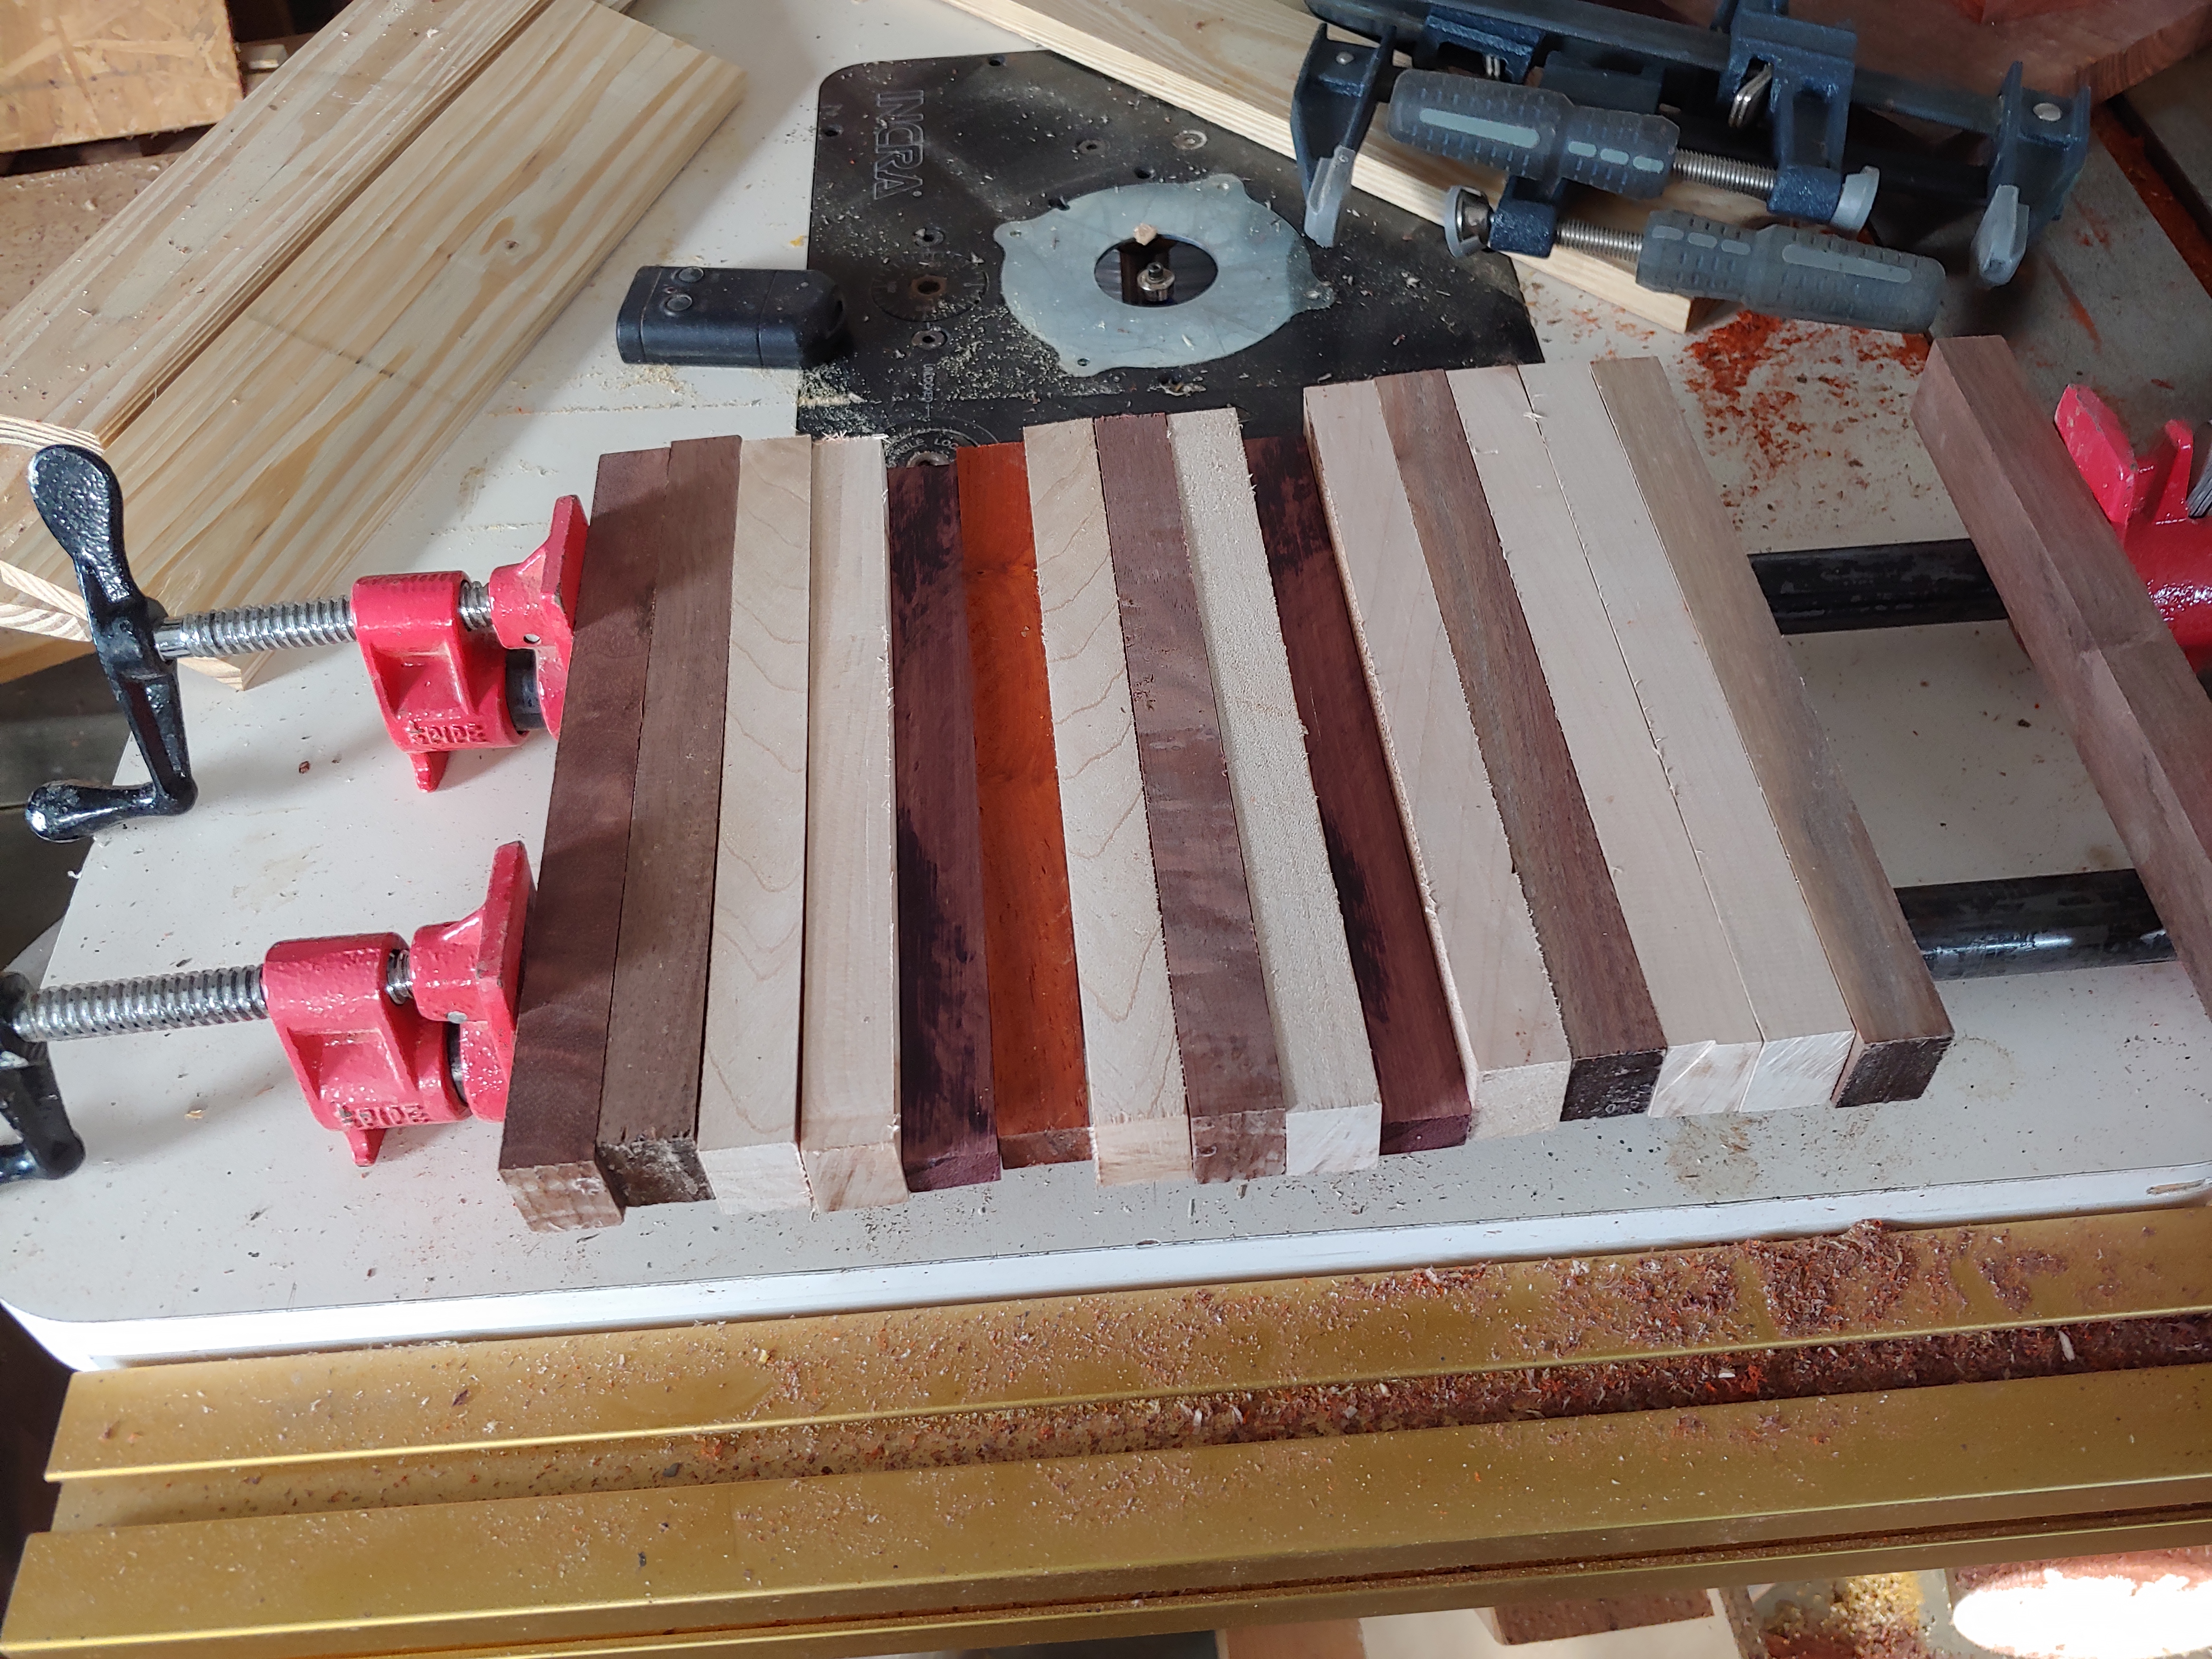
This is the easy part, so I messed around with a few orders here first, trying to decide what to do.
Once this was done, it was time to put on glue. The easy way for me was to put a bunch of glue on the boards first. Get a bunch down.
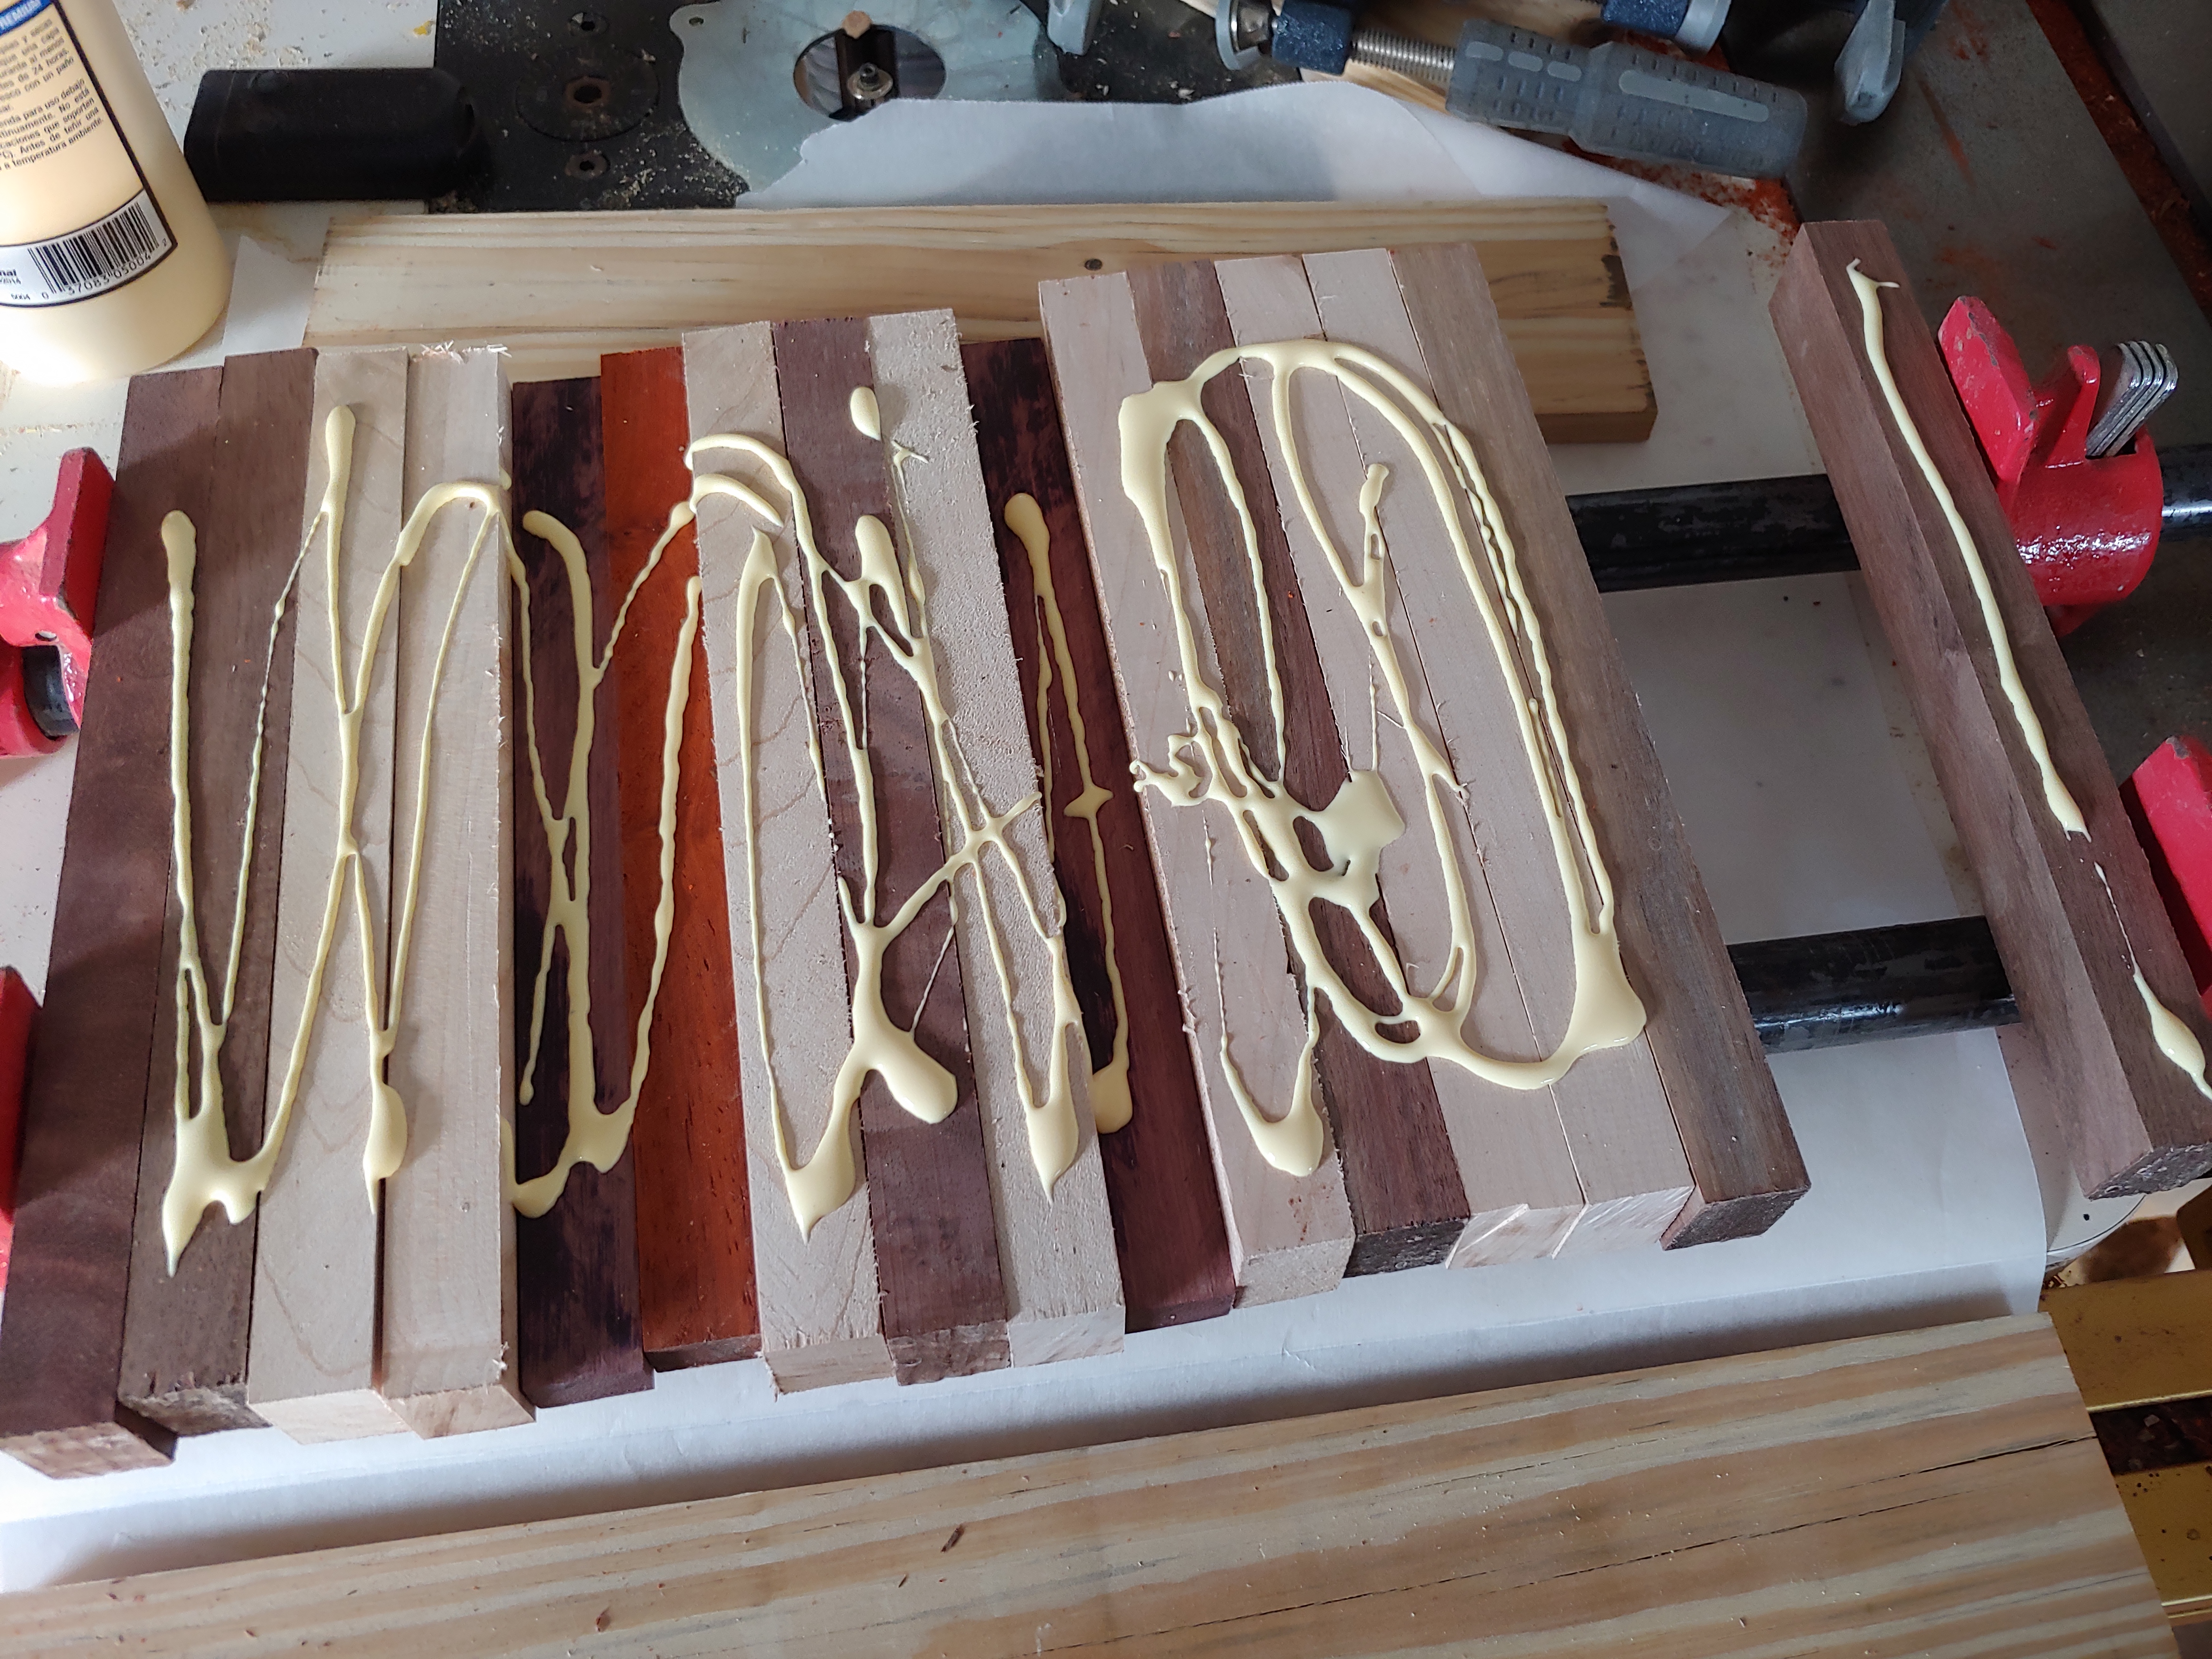
From here, I then pick up each one and spread the glue. I bought a bunch of cheap paintbrushes that are good here. I got them from Harbor Frieght and just toss them after a project.
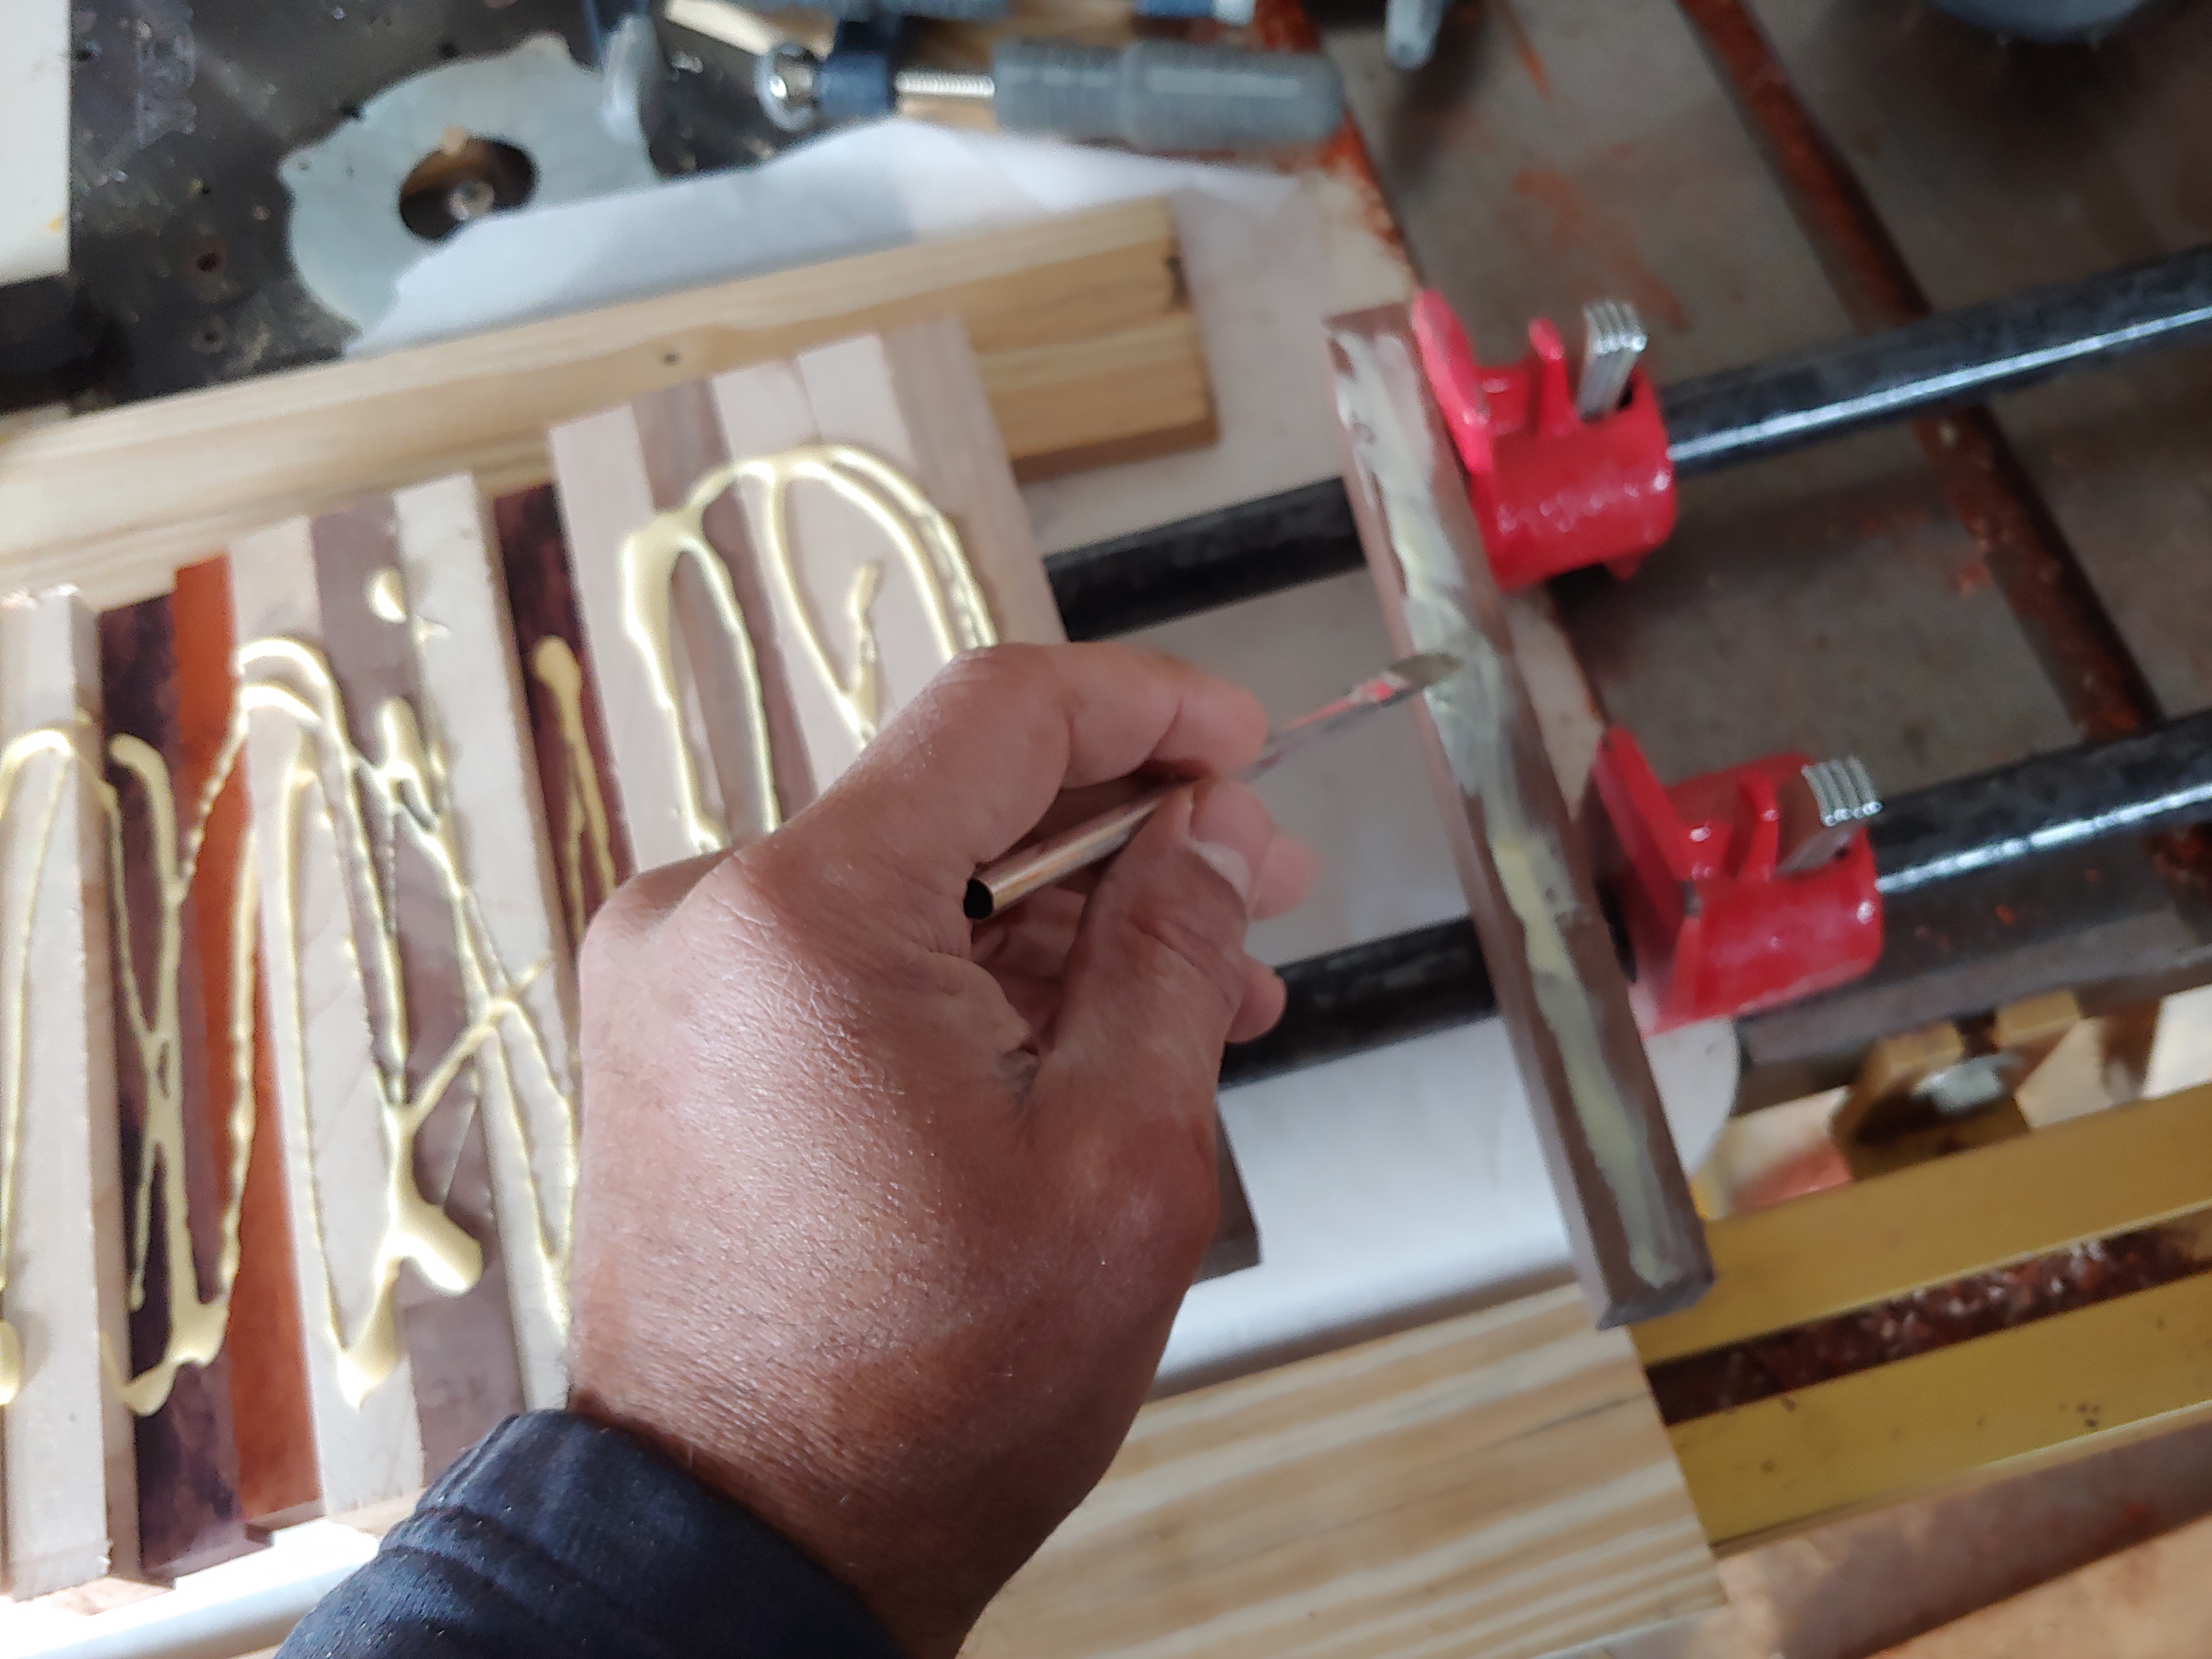
This then sets in the clamps overnight. It’s good to wipe off clue where you can, and I used parchment paper to limit the mess on clamps.
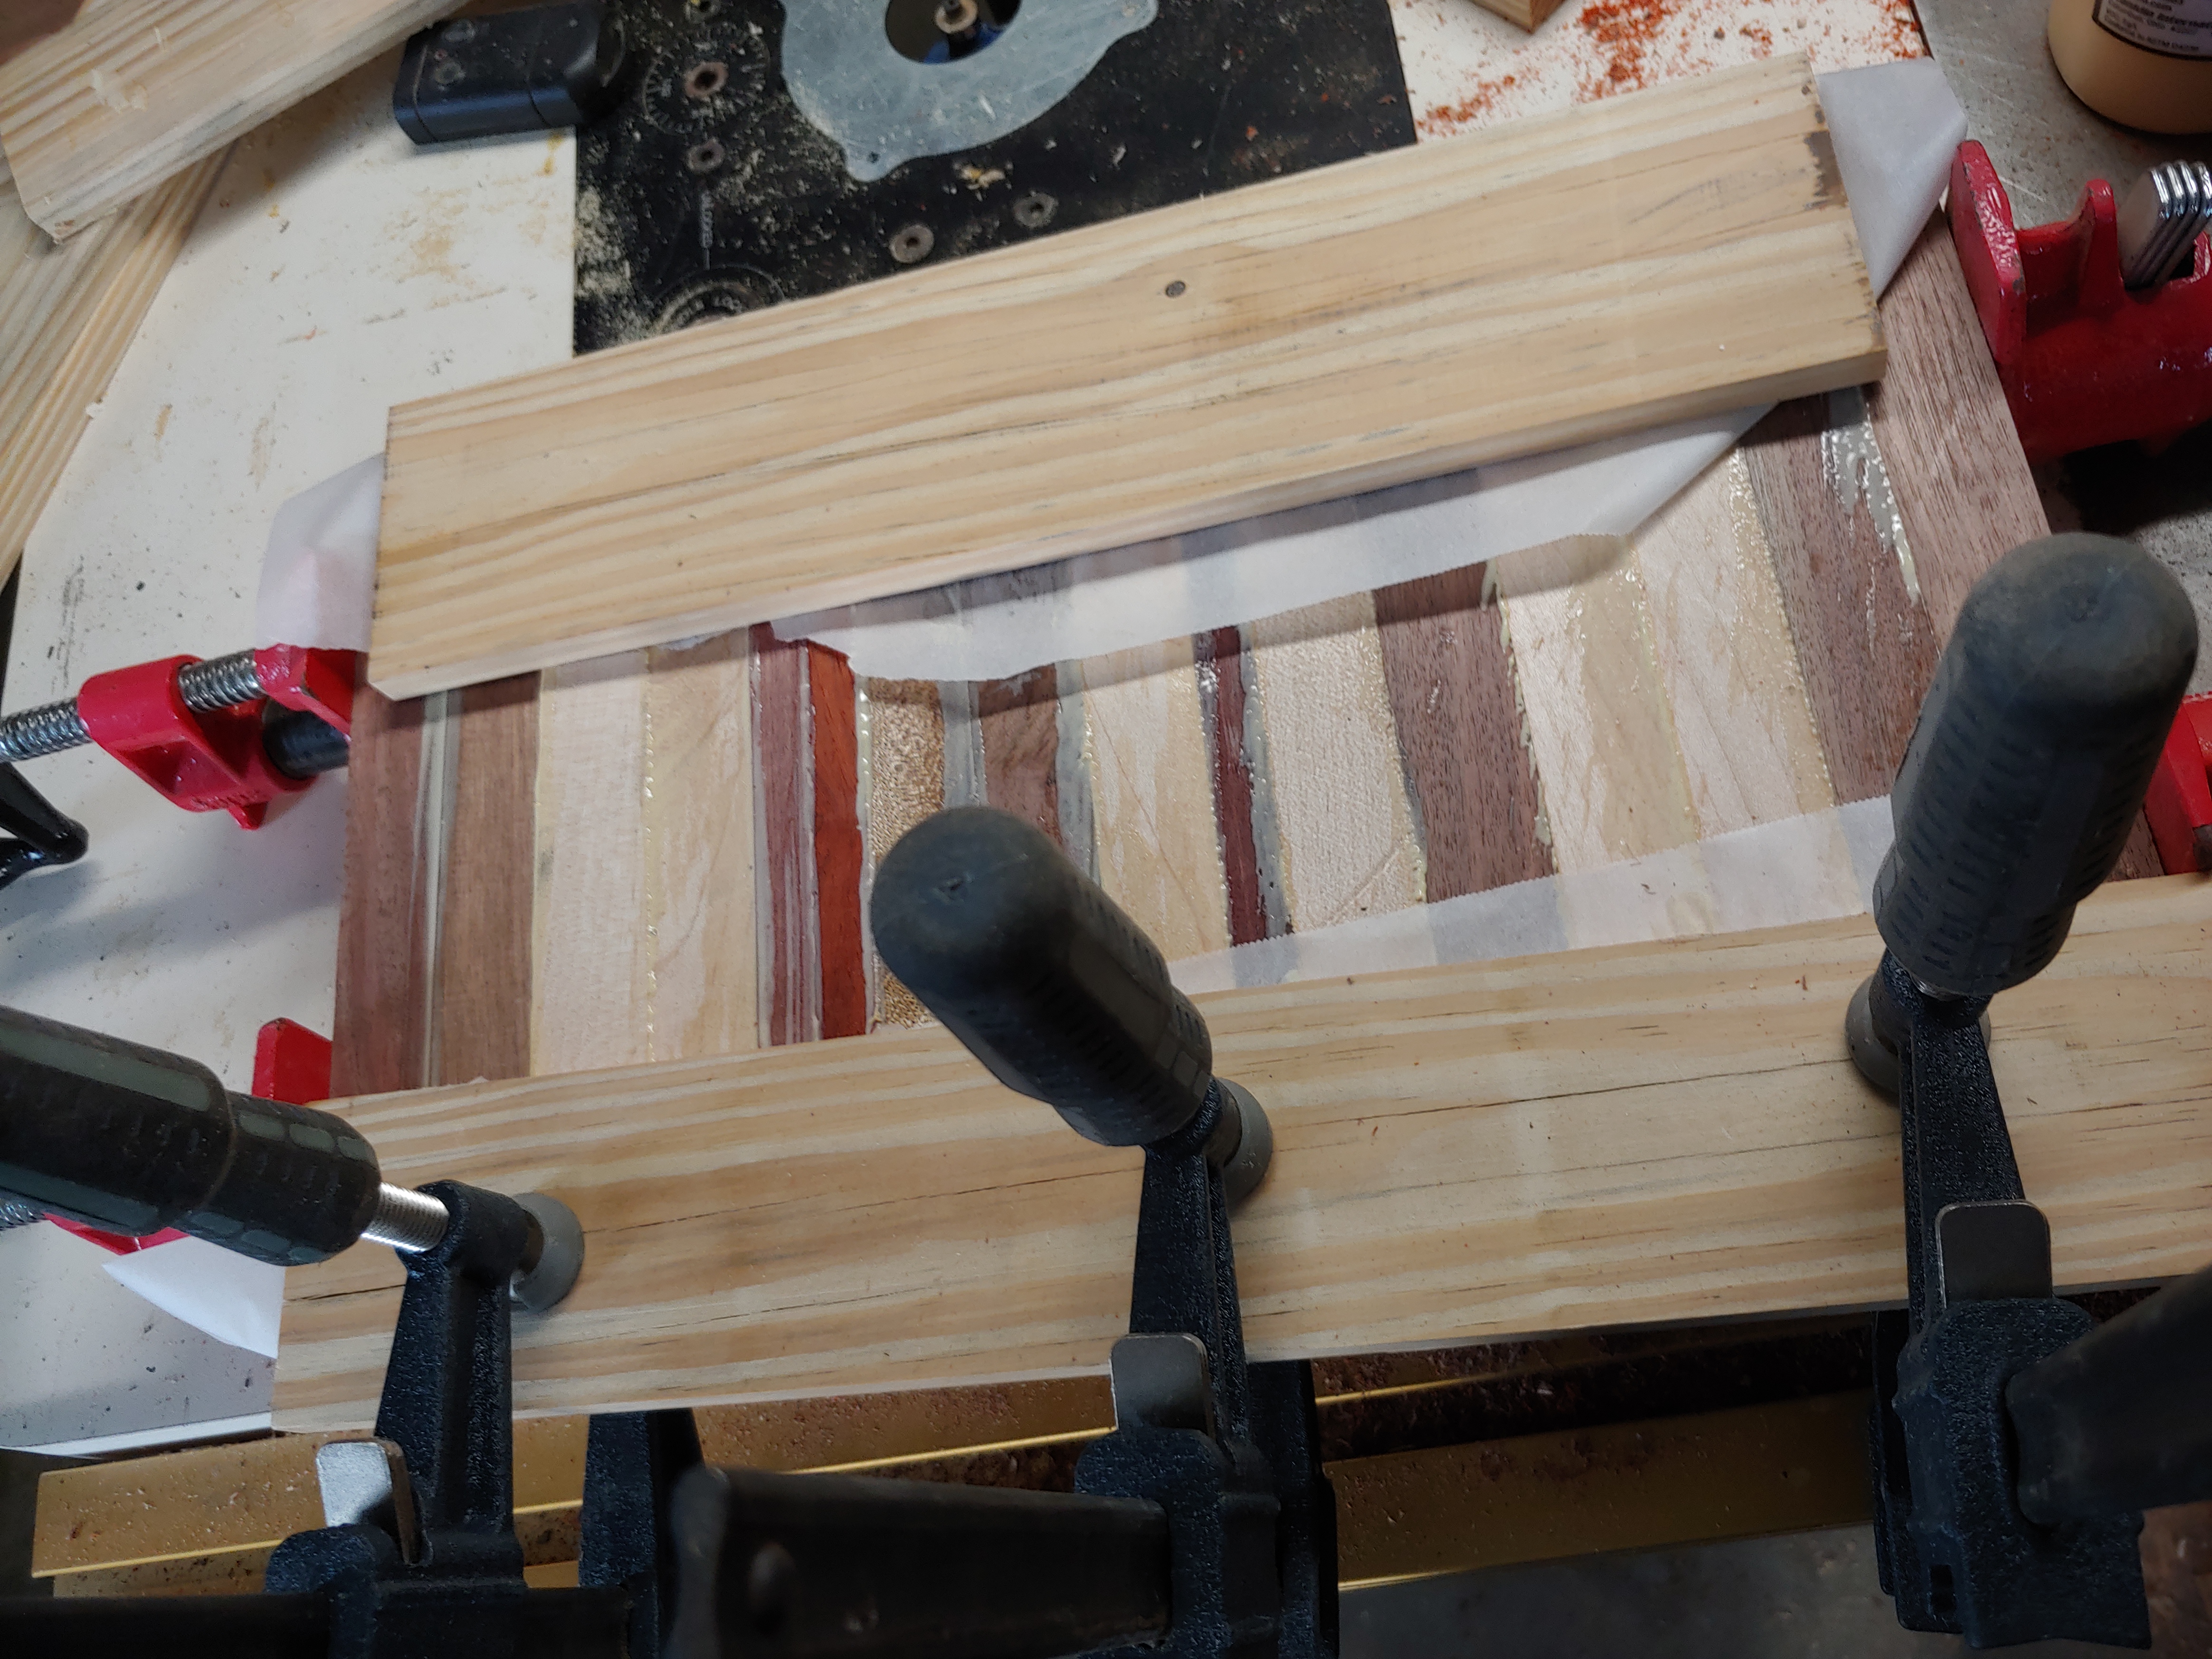
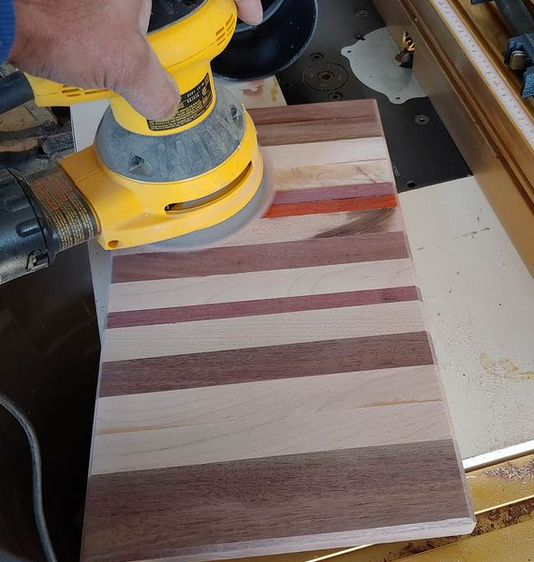
The next day I went out and pulled off the clamps. Things looked pretty good here, and I then started finishing.
First, a few router passes to knock off edges.
Then time to sand things smooth. First a couple passes in the planer, then hand sanding (with a palm tool).
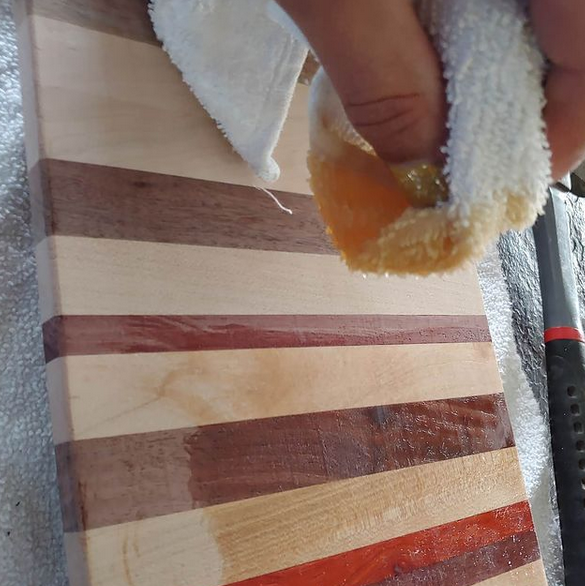
After things were sanding, I wiped off the mess and started finishing. I had a salad bowl oil finish, and I wiped it on. Once I had this done, I set the board on a few nails that lifted it up. I covered it with a box to reduce dust and let us sit for a few hours. I repeated this a few times.
The board came out well. A little thin, but overall, a good look.
A First Board
I don’t have a good recolleciton of this, or many pictures, but here’s the board. I know I had some spare maple and purpleheart and just decided to try this.

The process was similar, but here I cut strips of material to the same size. I set the table saw to have a thin strip and then ran boards through over and over to get a number of items that same size. I repeated this for both sides, to get uniform pieces.
I then laid them all out on the clamps as I did above for the Woodcraft board. Of course, I messed things up. I didn’t actually realize I’d put two maples together until it came out of the clamps.
I finished it the same as above, and it turned out nicely. I use this almost every day.